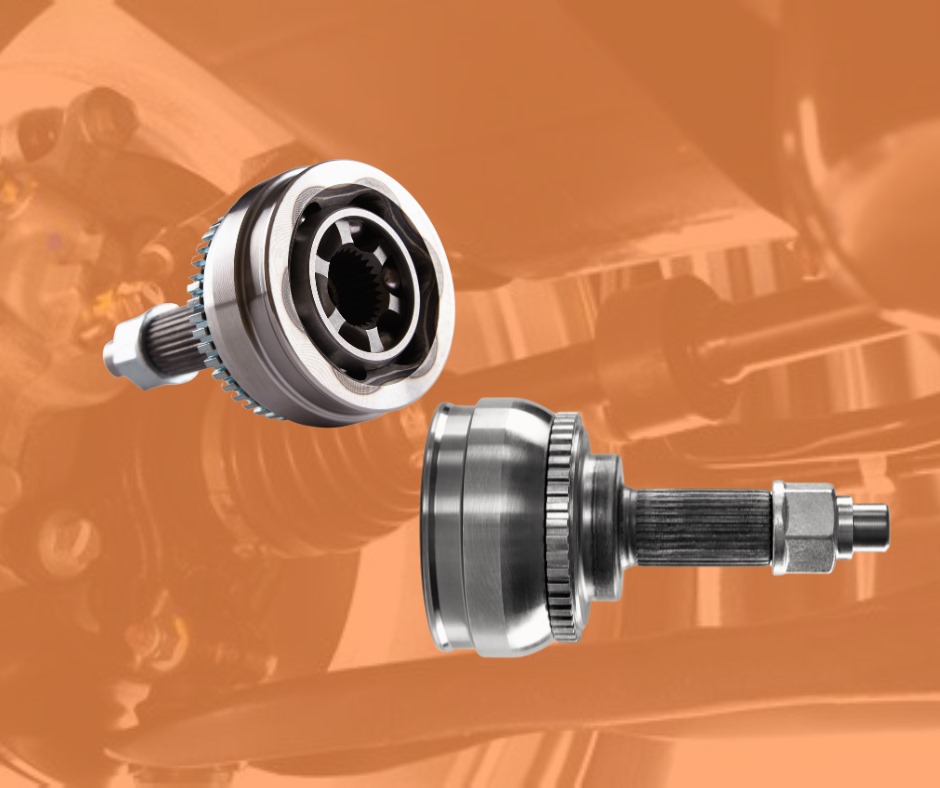
CV Joint Noise When Turning: Causes and Solutions

Get to know the common causes of CV joint noise when turning and explore effective solutions to ensure your vehicle runs smoothly.
Identifying CV Joint Noise: What Does It Sound Like?
CV joint noise is a distinctive sound that typically occurs when a vehicle is making a turn. It is often described as a clicking or popping noise that increases in frequency as the vehicle turns sharper. This sound is a clear indication that the CV joint may be worn or damaged and requires attention. It's important to differentiate this noise from others, such as tire squeals or engine noises, to accurately pinpoint the source as the CV joint.
Ignoring these auditory clues can lead to further damage and potentially unsafe driving conditions. Regularly listening for unusual sounds and performing visual checks can help in early identification of CV joint issues.
Common Causes of CV Joint Failure
CV joint failure is often due to a breach in the CV boot, which is the protective casing around the joint. When the boot is damaged, it can allow dirt, debris, and moisture to enter and contaminate the joint. This contamination leads to increased wear and tear. Other causes include excessive strain from sharp turns or acceleration, as well as aging and normal wear. It's crucial to understand that once a CV joint begins to deteriorate, its condition can rapidly decline without proper intervention.
In some cases, manufacturing defects or improper installation can also contribute to premature CV joint failure. Routine inspections can help catch these issues before they lead to noise or more serious problems.
How to Diagnose a Faulty CV Joint
Diagnosing a faulty CV joint typically involves a visual inspection and a road test. During the visual inspection, mechanics look for tears or damage to the CV boot, as well as any leaking grease, which could be an indicator of a compromised joint. A road test usually involves driving the vehicle and listening for the characteristic clicking noise when turning. The noise's volume and frequency can help determine the severity of the issue.
It's also possible to check for play or movement in the CV joint by hand, though this should be done by a professional to avoid injury or further damage. Utilizing diagnostic tools and expertise, a mechanic can accurately identify a faulty CV joint and recommend the appropriate course of action.
Step-by-Step Guide to Repairing CV Joints
Repairing a CV joint is a process best left to professionals, as it involves several intricate steps and the use of specialized tools. The first step is to safely lift and support the vehicle, remove the wheel, and then detach the CV joint from the axle. If the CV boot is the issue, it may be possible to simply replace the boot and repack the joint with fresh grease. However, if the joint itself is damaged, it will require a complete replacement.
After the new joint or boot is installed, it's crucial to ensure that all components are properly secured and the axle nut is torqued to the manufacturer's specifications. The final steps include reassembling the wheel and conducting a test drive to confirm the repair has resolved the noise and restored proper functionality.
Preventive Measures to Avoid Future CV Joint Problems
Preventive measures for CV joint care include regular inspections of the CV boots for cracks or damage and addressing any issues promptly. It's also wise to avoid driving habits that put unnecessary stress on the CV joints, such as taking sharp turns at high speeds or driving over rough terrain. Keeping your vehicle's suspension system in good shape can also reduce strain on the CV joints.
Additionally, following the manufacturer's recommended maintenance schedule and ensuring timely servicing of the vehicle can greatly extend the life of CV joints. By being proactive about vehicle care, drivers can minimize the risk of CV joint wear and enjoy a smoother, safer ride.
Drop us a message from our facebook page or Chat us using the widget on the right to order Cv Joints for your car

 Loading..